

Packaging Dielines Explained: What Brands Need Before Going to Print
.png)
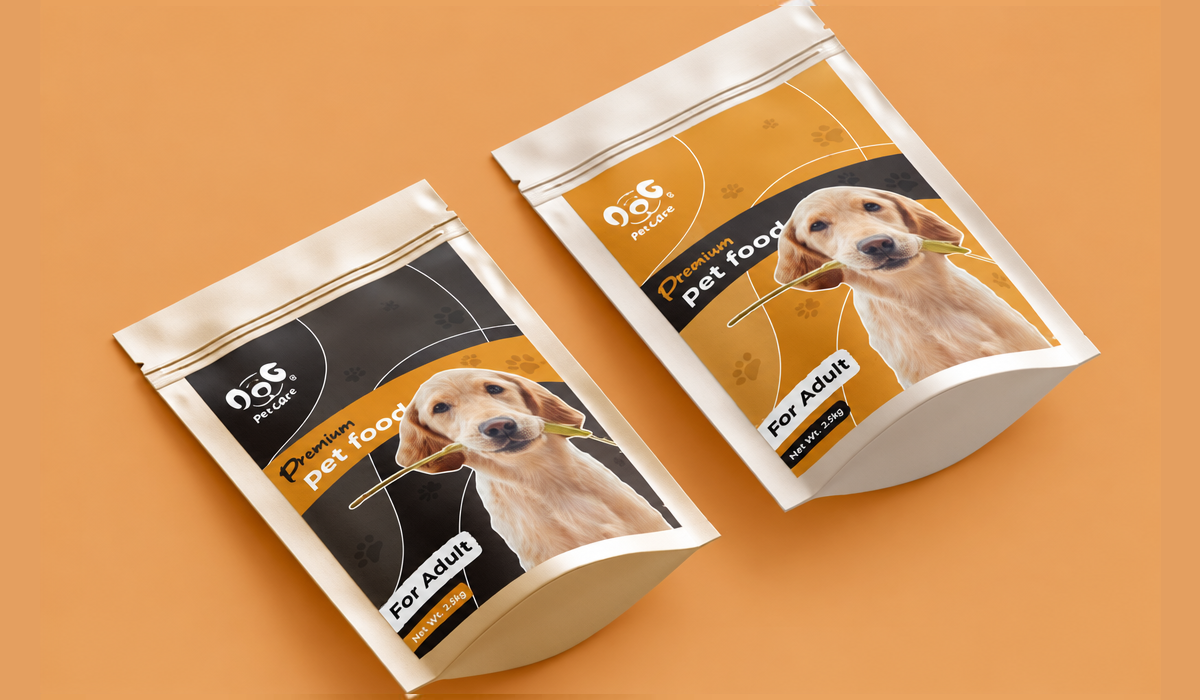
You've spent weeks perfecting your product packaging. The colors look sharp, the typography feels premium, and the 3D mockup looks ready for a spot on a Target shelf. Then your printer asks one simple question: "Do you have the approved dieline?" Suddenly, that beautiful design has a very practical problem.
Here's the thing about packaging. What looks fantastic on a computer screen doesn't always work when a manufacturer cuts, folds, and assembles it. A logo might disappear around a corner. A product description could end up on a glue flap. And that perfectly centered design? Not so centered anymore.
That's where packaging dielines come into play. They're the technical foundation behind packaging that looks good and functions properly. Whether you're launching a beauty brand, expanding a food product line, or redesigning your retail packaging, working with an experienced Packaging Design Company can help you connect your creative vision with real production requirements.
What Is a Packaging Dieline?
A packaging dieline is a flat, two-dimensional template that shows exactly where manufacturers will cut, fold, crease, or glue your packaging material. Think of it as the architectural blueprint for your product's box, sleeve, label, or pouch.
Unlike a colorful packaging mockup, a dieline focuses on structure rather than appearance. It identifies the panels, edges, folds, and production areas that designers must consider before placing artwork. Without an accurate dieline, even the most sophisticated visual concept can turn into an expensive production mistake.
Understanding the Different Lines on a Packaging Dieline
At first glance, a packaging dieline can resemble an abstract geometry assignment. You'll see colored outlines, dashed paths, measurements, and unfamiliar markings. Fortunately, every element serves a practical purpose, and manufacturers usually provide a legend that explains their specific line conventions.
Bleed deserves special attention because it protects your design from small cutting variations. As Adobe's print-production guidance explains, commercial printing commonly uses a 0.125-inch bleed, although your printer may require different measurements. Background colors and images should extend beyond the final cutting edge so minor production shifts don't leave unwanted white borders.
Here's how to read the main elements.
|
Dieline element |
What it means |
Why your brand should care |
|
Cut lines |
Mark where manufacturers cut the material |
Define your packaging's final shape |
|
Fold or crease lines |
Identify where the package bends |
Help keep text and logos away from awkward folds |
|
Bleed area |
Extends artwork beyond the cutting edge |
Prevents unintended white gaps |
|
Safe area |
Defines where important content should stay |
Protects text, logos, and other critical information |
|
Glue flaps |
Show where panels join together |
Prevent important artwork from disappearing or interfering with adhesion |
|
Perforation lines |
Mark tear-away or opening sections |
Support easy opening and product access |
|
Special finish areas |
Identify foil, embossing, or coating locations |
Help printers apply decorative effects accurately |
One important detail: dieline colors aren't universal. One manufacturer might use red for cutting and blue for folding, while another uses an entirely different system. Always follow the legend in your supplier's approved file.
Why Packaging Dielines Matter More Than You Think
Let's imagine a small skincare brand preparing to launch a premium moisturizer.
The creative team approves a minimalist carton with a soft beige background, elegant black typography, and a metallic logo. Everything looks polished until someone notices that the product name crosses a fold and the ingredients panel sits dangerously close to the trimming edge.
That's not a branding problem. It's a production planning problem.
An accurate packaging dieline helps you prevent these issues before your printer commits materials, labor, and equipment to a production run.
1. Your Packaging Fits the Product
The right dieline accounts for the product's dimensions, material thickness, closures, and assembly method.
A carton that looks spacious on screen might struggle to accommodate a glass bottle, protective insert, or unusually shaped item.
2. Your Branding Stays Where It Belongs
A beautiful logo loses its impact when a fold slices through the lettering.
Dielines help designers understand which panels customers will see first and where important graphics should appear.
3. You Reduce Expensive Production Errors
Incorrect cuts, misplaced graphics, and unsuitable glue areas can lead to rejected samples, artwork revisions, or wasted printed stock.
Catching these problems during prepress usually costs less than discovering them after manufacturing.
4. You Improve the Customer Experience
Nobody wants to wrestle with a package just to reach a face cream.
Thoughtful structural design supports easier opening, secure closures, better product protection, and a more satisfying unboxing experience.
What Brands Need Before Creating Packaging Dielines
Before your designer opens Adobe Illustrator, gather the information that determines how the packaging must function.
|
Requirement |
Information to prepare |
|
Product dimensions |
Accurate length, width, height, and shape |
|
Packaging format |
Folding carton, rigid box, sleeve, label, or pouch |
|
Material |
Paperboard, corrugated board, film, or another approved substrate |
|
Closure method |
Tuck flaps, adhesive seals, locking tabs, or other closures |
|
Printing process |
Digital, offset, flexographic, or another production method |
|
Design assets |
Brand logo, typography, color specifications, and artwork |
|
Product information |
Ingredients, instructions, warnings, barcode, and required claims |
|
Finishing options |
Matte coating, foil stamping, embossing, or spot UV |
Start with physical measurements, not assumptions.
A container's advertised capacity won't tell you its exact exterior dimensions. A 12-ounce bottle, for example, can have a completely different shape from another bottle holding the same amount.
Measure the actual product and confirm the packaging material and internal fit before finalizing the structure.
How to Prepare a Print-Ready Packaging Dieline
Once you know the specifications, you can begin preparing the production artwork.
Step 1: Get the Manufacturer's Approved Template
Search online, and you'll find plenty of free box dieline templates.
They're useful for exploring packaging concepts, but don't assume they match your manufacturer's cutting equipment, material thickness, or assembly requirements.
Ask your packaging supplier for the approved, full-scale dieline before placing final artwork.
Step 2: Separate Structural Lines From Artwork
Keep cutting lines, folding instructions, and finished graphics on clearly labeled layers.
Your printer should be able to identify structural information without confusing it with printable artwork.
Different suppliers may require specific spot colors, layer names, and nonprinting settings.
Step 3: Check Bleed and Safe Areas
Extend background graphics into the required bleed.
Meanwhile, keep important details inside the designated safe area, away from cuts and folds.
Your printer should confirm the exact tolerances for your packaging material and production process.
Step 4: Prepare Colors and Images
Packaging artwork often uses CMYK printing, although some projects require Pantone spot colors or additional inks.
For raster photographs, 300 pixels per inch at final print size often provides a suitable starting point, subject to your printer's specifications.
Also, confirm font handling, linked images, and any special print effects.
Step 5: Review Barcodes and Product Information
A retail package needs more than attractive graphics.
Reserve adequate space for the barcode and its required clear margins, known as quiet zones. Avoid positioning barcodes across folds, seams, or difficult-to-scan surfaces.
Check mandatory product information against the applicable regulations for your product category and selling location.
Step 6: Test the Actual Structure
A flat screen preview cannot reveal every packaging problem.
Create a physical prototype or request a structural sample. Fold it, close it, insert the product, and inspect every panel.
A printed proof can also help you review artwork, color, and finishing before full production.
Common Packaging Dieline Mistakes Brands Should Avoid
Even experienced creative teams can overlook practical production details.
Here are five mistakes worth catching early.
1. Using an outdated dieline
Your team updates the box dimensions but continues designing on the old template. Suddenly, the artwork no longer matches the packaging structure.
Always confirm the file version before approving production.
2. Forgetting the glue flaps
A strategically positioned tagline means very little when the finished package hides it under an adhesive seam.
3. Placing important text too close to edges
Small manufacturing variations can make tightly positioned copy look uneven or become partially trimmed.
Give essential information enough breathing room.
4. Ignoring material behavior
Thick paperboard, flexible film, and corrugated cardboard don't bend or print in exactly the same way.
Material selection affects folds, ink performance, and finishing possibilities.
5. Approving only the digital mockup
A 3D rendering can help your marketing team visualize the final product. It cannot replace a physical fit test or printer approval.
Pretty pixels don't guarantee practical packaging.
Do All Packaging Types Need the Same Dieline?
Not quite.
A folding carton needs specific cut, crease, and glue instructions. A product label needs accurate trimming dimensions and placement allowances. Flexible pouches may require seal zones, gussets, and zipper positions.
Rigid boxes often involve separate structural templates for the lid, base, wraps, and inserts.
This is why packaging dielines should match the exact packaging format and manufacturing process, rather than follow a generic layout.
A good design starts by understanding what the material needs to do.
How Packaging Dielines Support Better Brand Design
The most interesting packaging doesn't treat structure as an obstacle. It makes structure part of the creative idea.
Consider how a carefully positioned message appears when someone opens a subscription box. Or how a continuous illustration wraps around a carton without breaking at the corners.
These details create a deliberate experience.
I like to think of a dieline as the choreography behind that experience. Customers notice the finished performance, not the measurements that make it possible.
As brands explore minimalist packaging, tactile finishes, refill systems, and more material-conscious designs, structural planning becomes increasingly important.
However, a dieline alone doesn't prove that packaging is sustainable. Material sourcing, protective performance, local recycling systems, and total material use also matter.
The strongest solutions balance aesthetics, function, production efficiency, and the customer's needs.
Final Packaging Dieline Checklist Before Printing
Before giving your printer the green light, review these essentials:
- Confirm the manufacturer-approved dieline and revision.
- Verify measurements, scale, and panel orientation.
- Check all cut, fold, perforation, and glue areas.
- Extend artwork into the required bleed.
- Keep important elements inside safe zones.
- Confirm color settings, images, fonts, and finishes.
- Review barcodes and mandatory product information.
- Test a physical sample and obtain final approval.
A few additional checks today can save a very uncomfortable conversation after thousands of units arrive.
Conclusion: Great Packaging Starts Long Before Printing
Packaging dielines might not be the most glamorous part of building a brand, but they make ambitious creative ideas possible.
They connect your packaging's appearance with its actual construction, helping you avoid costly errors while delivering a polished experience to customers.
Before approving your next design, make sure the measurements, structural template, artwork, and printing specifications all work together.
Planning a new product launch or packaging redesign? Contact us to discuss a packaging design that combines strong visual identity with thoughtful, production-ready execution.
Frequently Asked Questions
1. What is the difference between a packaging dieline and a packaging mockup?
A dieline shows the technical structure, including cuts, folds, and assembly areas. A mockup shows how your packaging may look when assembled. Brands use both to evaluate visual design and production requirements.
2. Can I create packaging dielines in Adobe Illustrator?
Yes. Adobe Illustrator supports vector-based layouts and organized production layers. However, your manufacturer should provide or approve the final structural dimensions and cutting specifications before printing.
3. What file format do printers need for packaging dielines?
Printers commonly accept editable Adobe Illustrator files or production-ready vector PDFs. Some also accept EPS files or other specialized formats. Ask your supplier about its exact file requirements, including layers, fonts, and spot colors.
4. How much bleed should packaging dielines have?
Many commercial print projects use approximately 0.125 inches, or 3 mm, of bleed. However, packaging requirements vary by material, printing method, and manufacturer. Always confirm the specified amount before exporting your final artwork
.png)

Comments
Update Comment